How to optimize your images in WordPress
If you want your WordPress website to be agile, have a good user experience and SEO is not penalized, optimizing images is one of the most important tasks to take into account.
How many times have you thought that your page loads very slowly? If you have, it’s possible that your images are part of the problem. The good thing is that it has a solution.
In this article we are going to talk about the importance of optimizing your images in WordPress, as well as the best ways to do it.
Tabla de contenidos
Why optimize your images for WordPress
It should be borne in mind that we are impatient beings by nature. That’s why when a website loads too slowly, we tend to abandon it. And obviously for those who have a business this means a loss of potential customers.
What are the reasons to optimize the images?
- Less weight of the website on the server (potential cost savings)
- Faster page loading speed.
- Better user experience by having a faster loading.
- Better SEO positioning.
We are going to delve into two of these aspects:
Improved loading time
When a user accesses a web page and the images are not well optimized, the server where it is hosted will have to make a great effort to download them, since they are usually the heaviest files (the rest are almost all texts and code). So the loading time will be longer and will increase the chances that the user will bounce (he will leave without seeing the page).
But what happens if the size and weight of the images are right? The server will thank you and will be much nicer to your website, so the time will be very reduced and the user experience will be improved exponentially.
SEO Impact – improve your Google ranking
It is important to know that the positioning of a website does not depend only on the contents that you publish with the keywords that you want to attack. Images play a fundamental role.
It is true that Google constantly changes the criteria for ranking a website, however there is one that has always been considered fundamental, the loading speed. And even more today with the famous Core Web Vitals (CWV).
As we said in the previous point, optimizing the images makes the site lighter and loads faster, so it will help you rank better in search engines.
Think twice before uploading an unoptimized image!
That said, I’m sure you’re really looking forward to getting started and starting to find out how we can achieve that optimization we’ve been talking about so much. So let’s get to it.
How to optimize images in WordPress
Here the fundamental aspect is to optimize the image to the maximum without necessarily losing quality. There are many ways to do this, so let’s see some of the ones that work for us.
Which file format to choose
Many times you may have wondered which format is the most suitable for the images that you upload to your website.
Well, here goes the mythical it depends.
If we are talking about photographs, the correct and recommended format is JPG, since it allows us to have a better quality in the images we upload, in addition to having smaller files.
We use the PNG format in case we want to put images without a background (transparent background), so that in the design it seems that they are integrated with the rest of the web, or, above all, for everything that are logos, illustrations or icons.
Adjust the photos to the correct size
You will also have to choose the appropriate dimensions for the images, since you have to take into account that they will be viewed from different devices and the perception will be modified.
It is essential to set some measurements in pixels according to the space where you are going to incorporate them. It is not the same to put an image in a header as in a small circle.
Let’s take an example to explain the previous two aspects.
The element that you have incorporated into your website must have at least a size of 2560×1320 because it is a header image. But when you download the image from a free image bank you realize that this one is much bigger (4500×2400). If you upload it as is, it has all the ballots of harming the optimization of the page..
For these steps we usually use a kind of free online Photoshop called Photopea.
With this tool you can change the size of the image or the canvas size to adjust it to the proportions that you want.
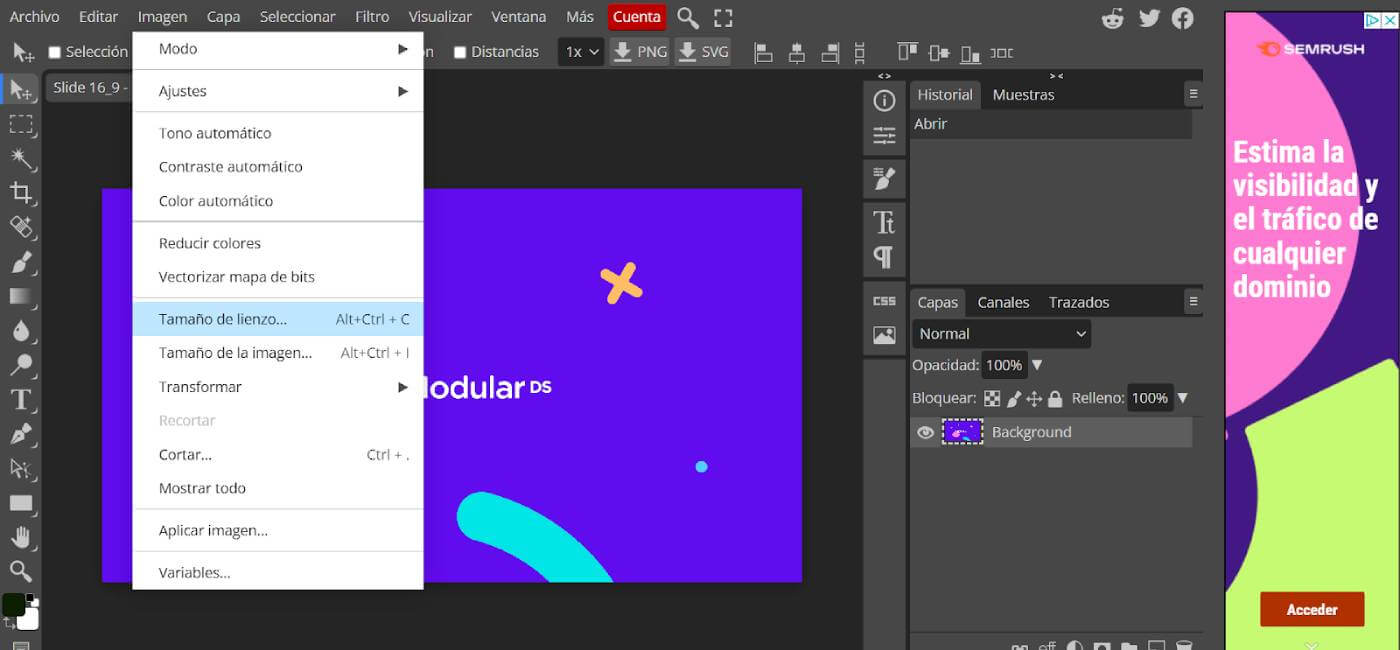
If you skip this step, the image may never adapt and therefore look cropped, blurred or resized. Something totally detrimental to the user experience.
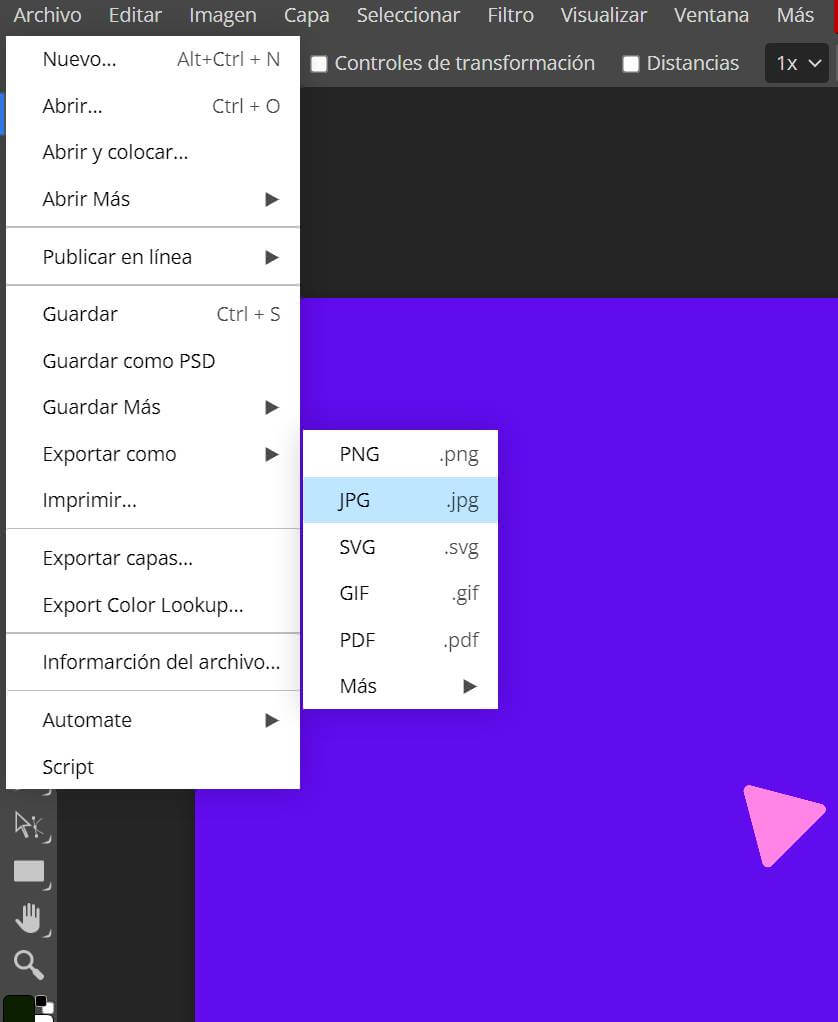
An extra tip is to export the Photopea image in jpg and with a quality of 70%, which barely reduces the visual quality but if it takes care of eliminating all the unnecessary information that the image has (such as its metadata).
Compress images before uploading
Another fundamental aspect for image optimization is its weight. The heavier the longer it will take the server to load it.
This is an optional step but running the image through a compressor like TinyPNG before uploading it to WordPress can lighten its weight a lot.
Plugins to optimize images in WordPress
Another of the key actions to take into account to make sure that your images are optimized correctly is to have an image optimization plugin configured on your website.
Normally, what it does is optimize these images at the time of upload and some give you other features such as lazy loading.
Let’s look at the most well-known ones within the WordPress world:
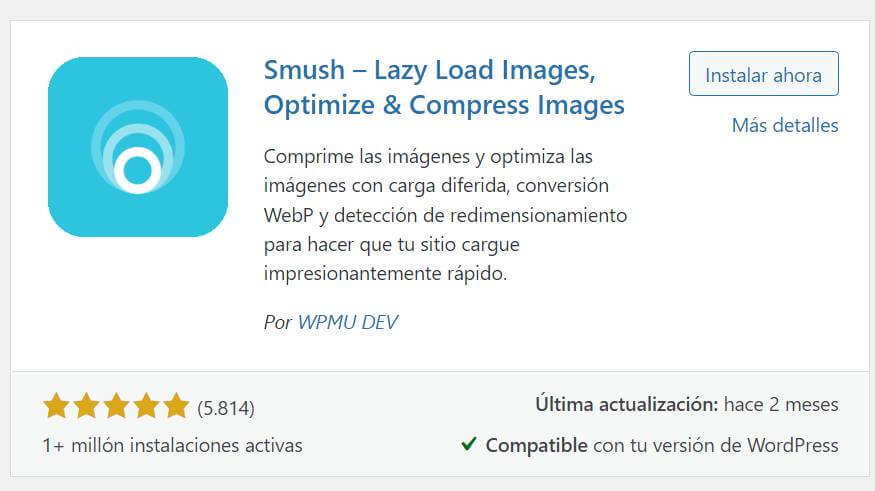
WP Smush
It is a plugin that allows you to compress the images that you incorporate into your website much more. In this way your page will be much faster since WP Smush makes them less heavy and smaller.
The key functionality of this is the automatic optimization of the images that you are uploading to the library, as well as the elimination of the metadata of the same.
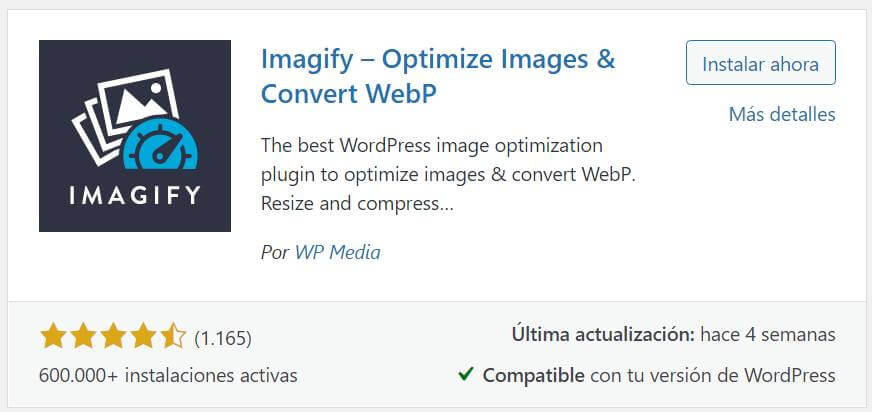
Imagify
This plugin allows us to set what level of compression we want for the images, but we have to be aware that the more compression the lower the quality.
However, it should be borne in mind that it has similar functionalities to WP Smush, since it also facilitates the automatic optimization of the images as you upload them to the library.
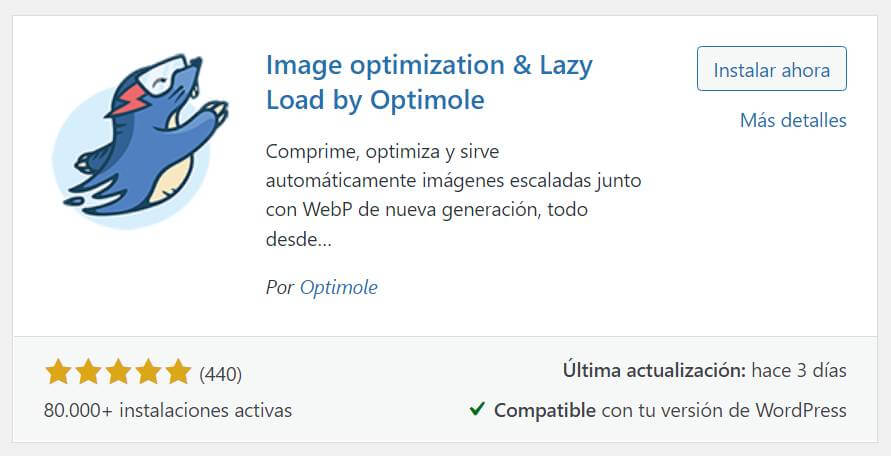
Optimole
It is another plugin that facilitates the optimization of images that you upload to your website. Like the other options, it allows them to be optimized in real time without any loss of quality.
In addition, it will always take into account the device from which it is being displayed, so the image will be adapted even when a user accesses from a tablet.
Webp Format | A new generation of images
This is Google’s new image format, already supported by most browsers and much more efficient than any other.
Unlike PNG or JPG formats, its compression method is much stronger getting less heavy images. This allows a saving in bandwidth and makes the server load them much faster.
What is the best thing? Despite the fact that the compression is much higher, the quality remains the same.
Lazy loading of images
Due to the amount of content that web pages usually have, the large number of visits they receive or the complexity of the queries made, it is vital to have a caching system that allows all the requested information to be displayed much faster.
For this we use the Lazy Loading technique. All with the aim of continuing to optimize the loading speed, especially on those websites with large image and video content.
Lazy loading consists of slowing down the loading of the website as well as all the elements that have not yet been required by the user. So it will only be loaded when the user scrolls and its visualization is necessary. A technique that loads visible content, but delays the loading of media that are not visible on the user’s screen.
This allows us to optimize the loading speed by reducing the initial effort that the server must make to show the web to the user.
How to optimize images for free with Photopea, TinyPNG, WP Smush and WebExpress (our method in Modular)
Next we are going to see how we use Photopea with TinyPNG in a combined way for an optimization of warranty images.
The image we see below has stratospheric dimensions. Therefore, imagine that it has to have a size of 2560 X 2200.
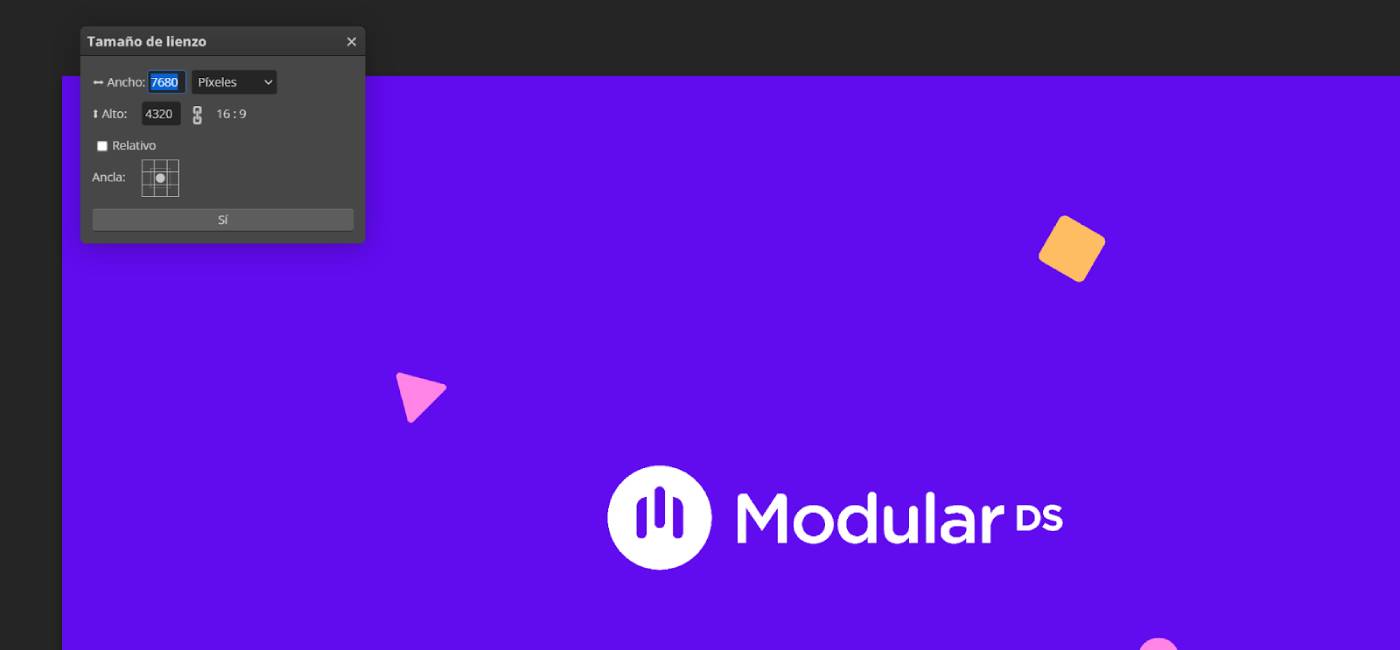
To do this, in the canvas size we are going to set the measurements that we want.
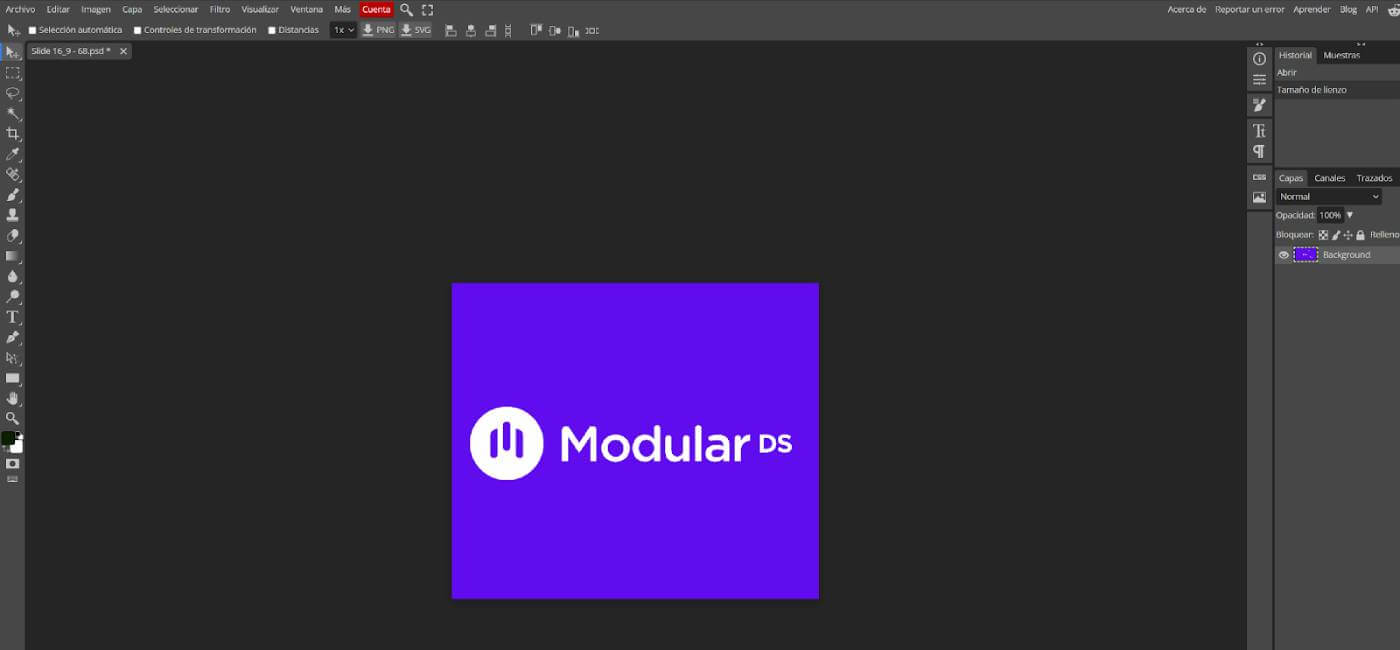
If we look we realize that we have eaten most of the photo, even though it now has the dimensions we need.
The next step is very simple, let’s “Edit” and in “Free Transformation” we will be able to perfectly adjust the image to the frame that we have marked. In this way, we will practically not lose anything from the image and it will also have exact dimensions of 2560 x 2220 px.
Once we have completed the previous steps, we will only have to pass it through an image compressor. In our case we usually use TinyPNG (even if the photo is in jpg).
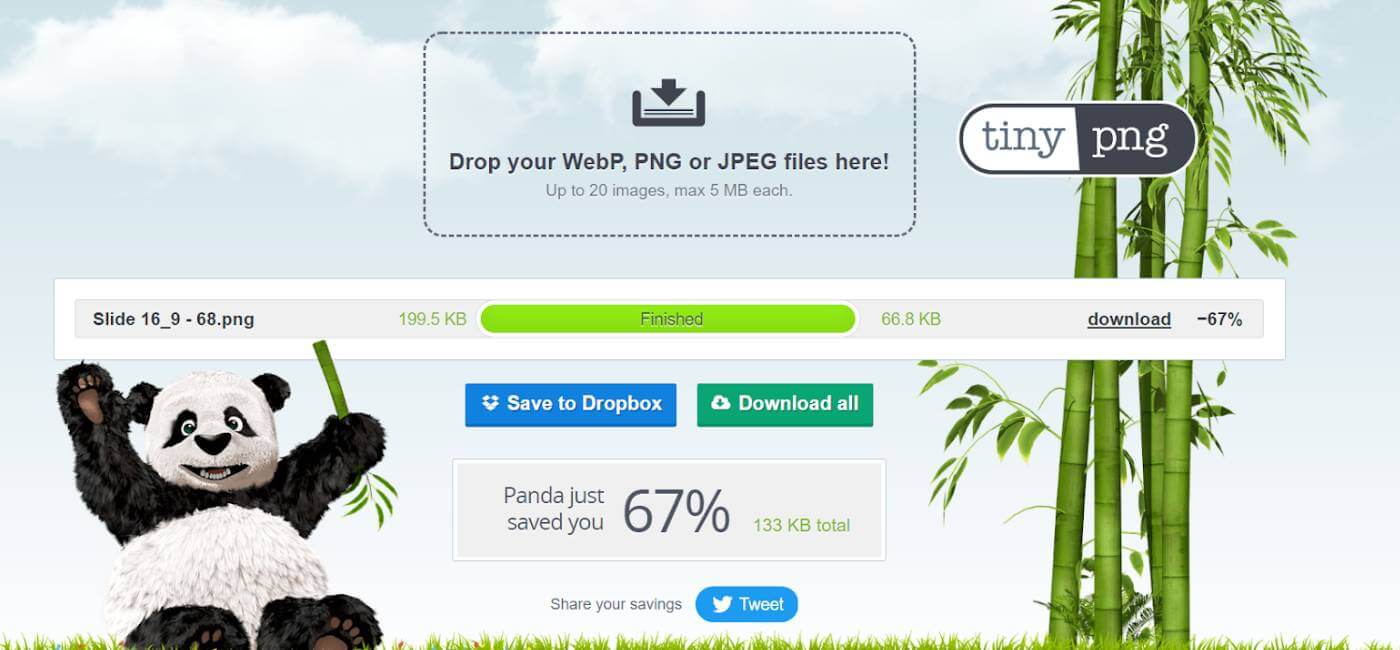
As you can see, we usually achieve a weight reduction of between 60-80%.
In this way we would already have the image optimized and ready to upload it to our website.
Later, as an additional step but never a substitute, we added the WP Smush and WebExpress plugins.
With WP Smush we achieved even greater optimization and activated the lazy loading function.
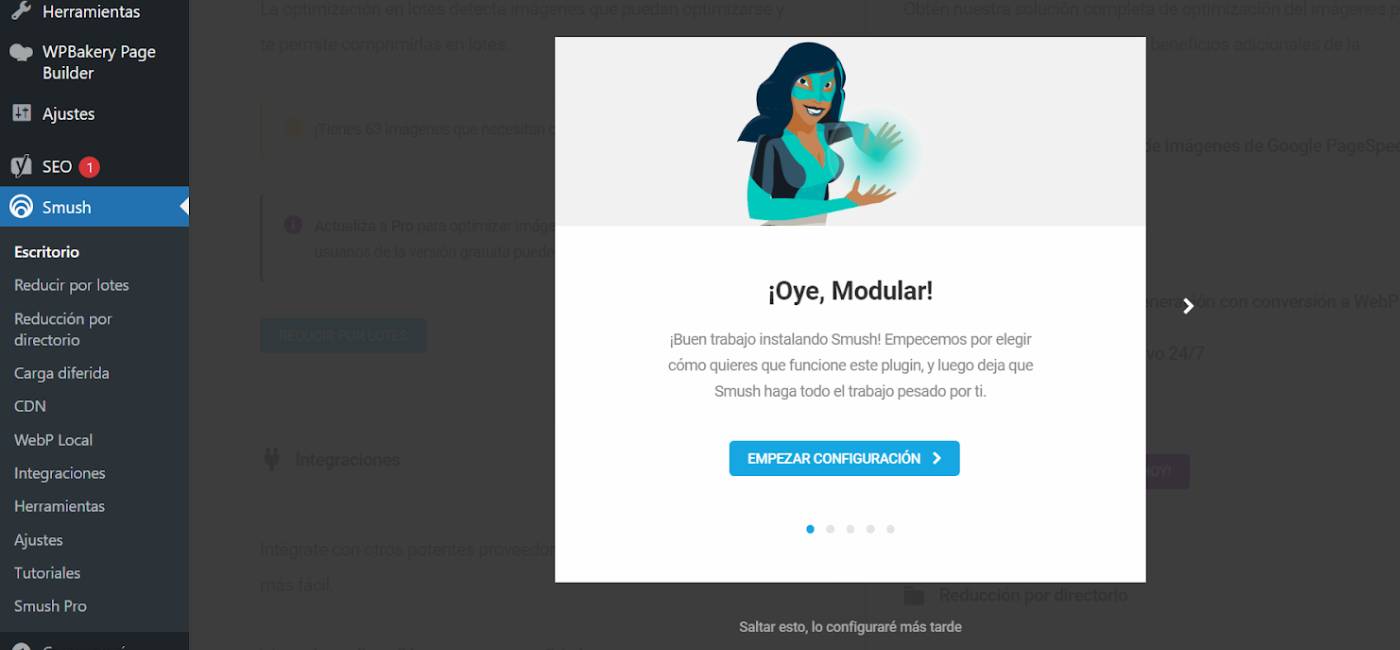
The WP Smush offers you a configuration wizard and without a doubt it is the most suitable option for its installation. Once you have activated it, a window like this will appear in the settings.
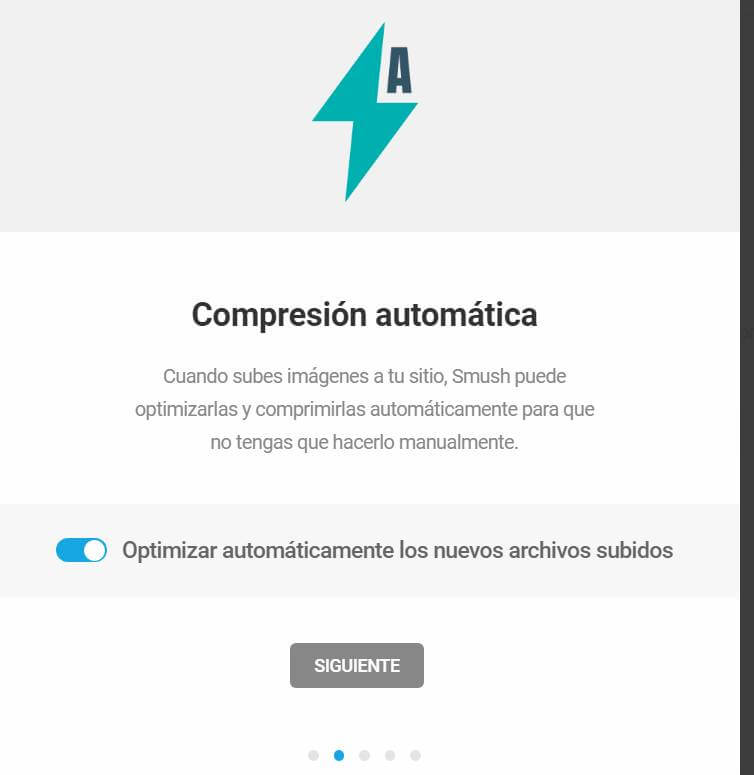
The next thing is to mark the automatic optimization of the images, something that we mentioned earlier.
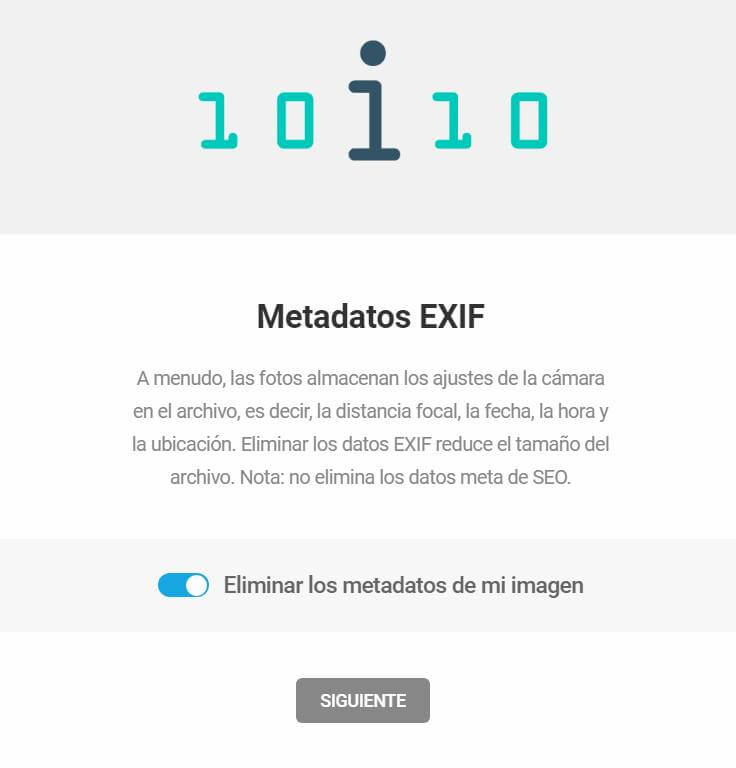
Later we will check the option to delete the metadata of the images, since they are data that contribute absolutely nothing.
The last option to check is one of the most interesting since it will allow the images not to load until the user scrolls, what we called Lazy Loading previously.
In this way we would finish the configuration of the WP Smush and from that moment all the images that are uploaded will also be optimized by this plugin.
Important: If you already have images uploaded on your website you can add the plugin and make an optimization of the gallery.
Finally, it is essential that you convert them to a new generation format such as webp, with a better optimization for web visualization.
To perform this conversion, you can install the WebExpress plugin.
Once you have activated it, in settings, you will be able to choose in what way or in what amount you want to compress the images and at the cost of how much quality loss (or if you do not want there to be any quality loss and you only want the format to be converted).
Here you can see our standard configuration:
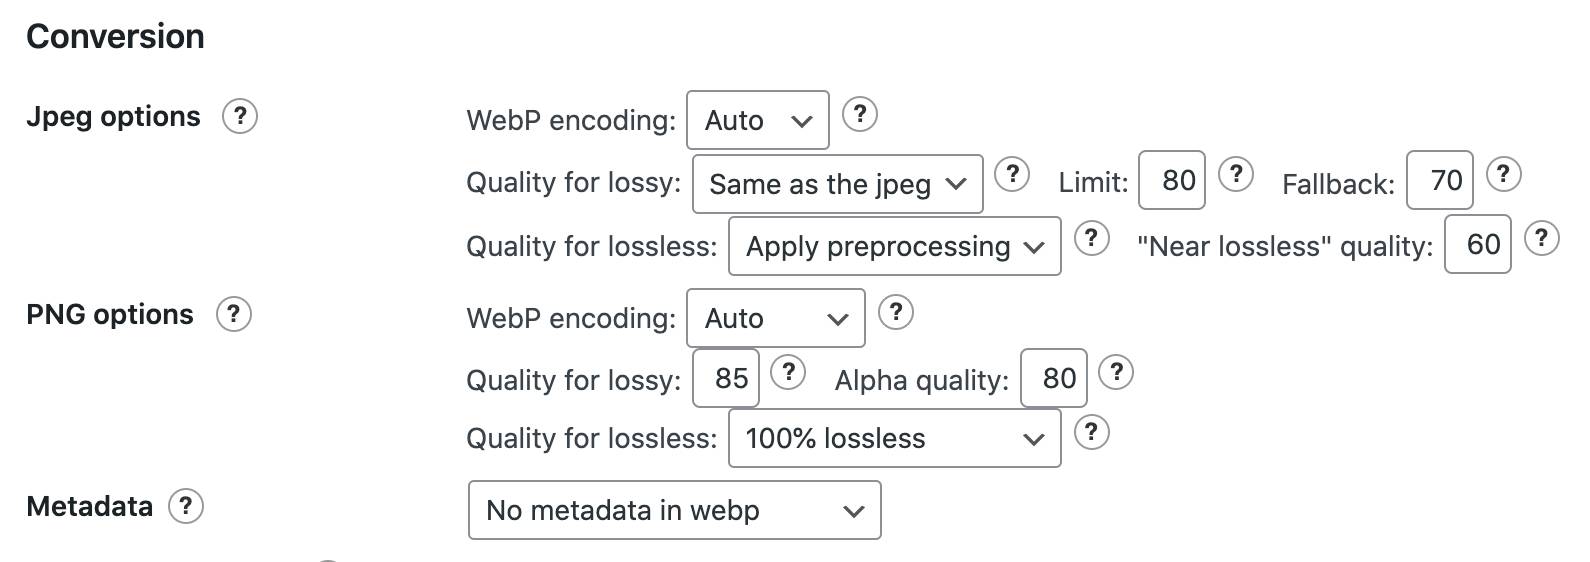
Once you have selected a configuration with which you are comfortable, you will have to check the button to alter the HTML and the images will be displayed in the new format.
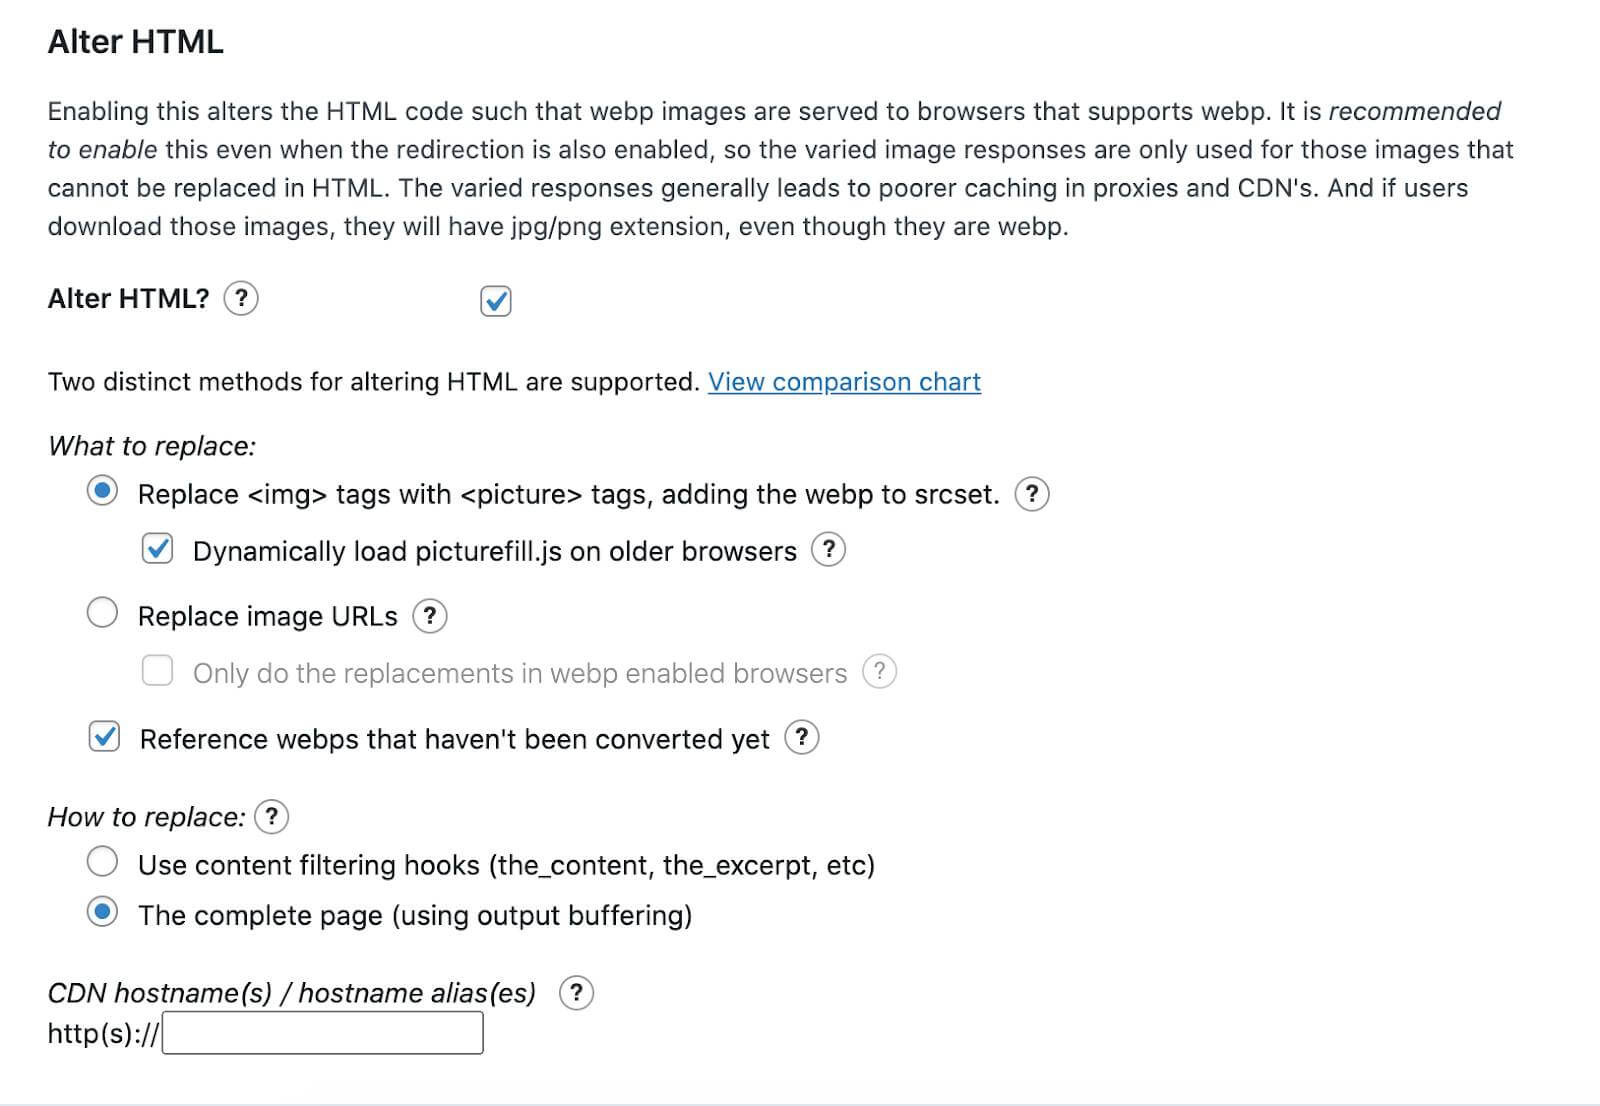
And finally you will have to click on the “Save settings and force new” button.htaccess rules”
Optimizing images for SEO
We have already seen that the format, dimensions and weight of the images have a great relevance for the loading speed and therefore for SEO positioning.
However, SEO for images also has a fundamental role when it comes to obtaining higher positions in the ranking and improving the speed of your site.
We are going to give you three tips so that your images meet the appropriate requirements to have a good positioning:
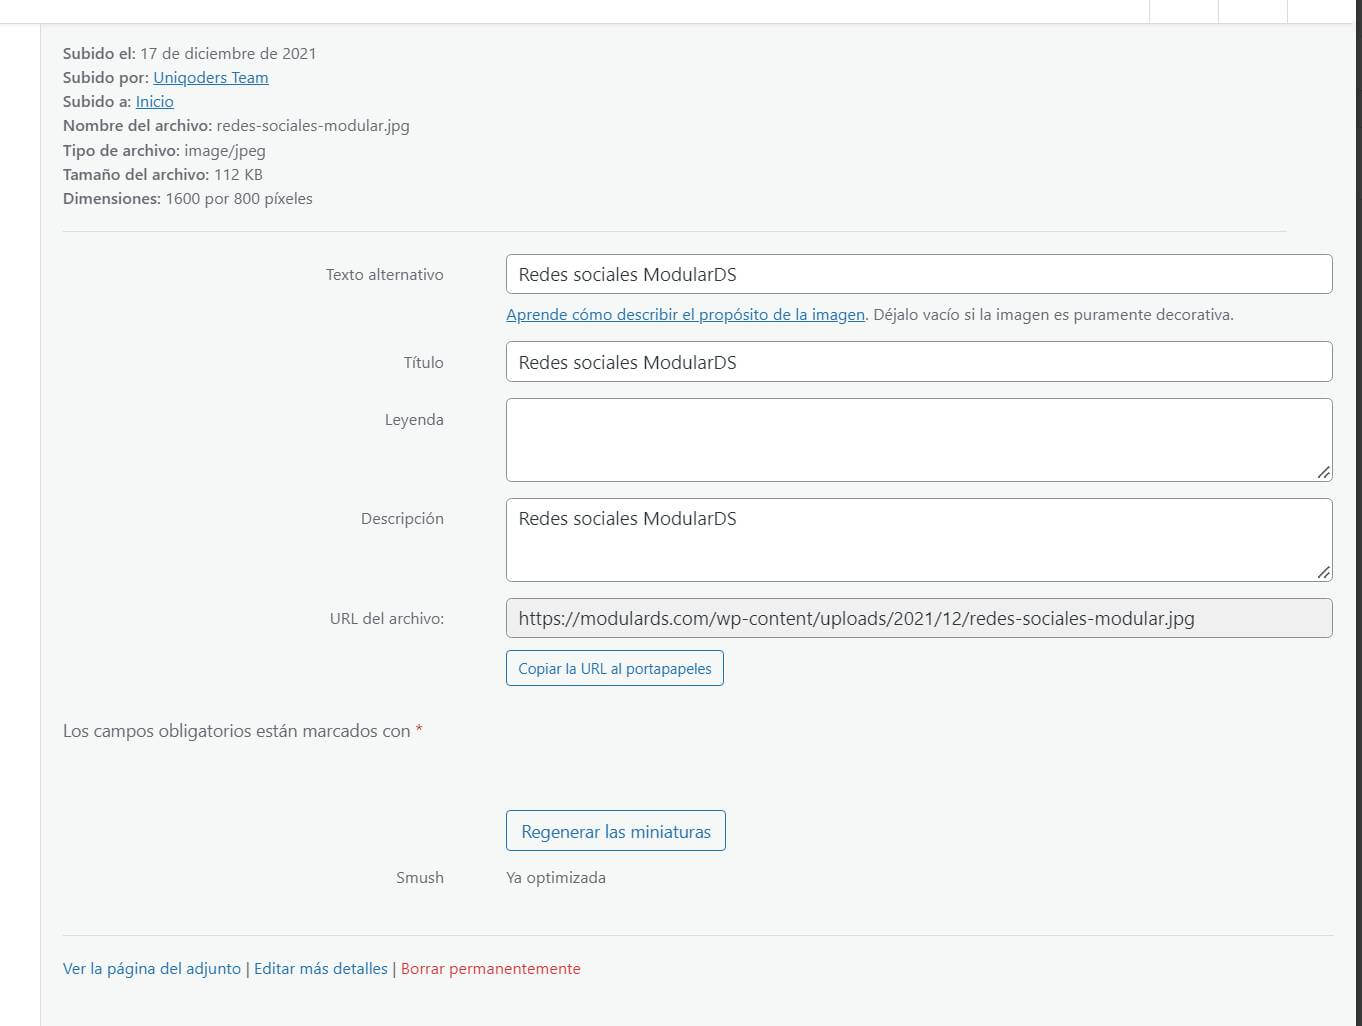
- You have to keep in mind that Google’s algorithm is very smart, so the name you give to the images must be descriptive and relevant. We write the same in the name of the file, the title of the image, alternative text (the ALT will be the text that the search engines will read) and the description. Such that so:
- Remember that they have to be meaningful images that align with your business model and context.
- Surround the image with relevant content that adds value to the context.
Conclusions
As you can see, the path to perfection is only a few steps away. Simple and clear processes that will allow you to optimize not only the speed of the site but also the user experience and positioning in the Google ranking.
These are steps that you will have to do every time you upload an image, but we promise that you will get the hang of it and it will really be worth it. Your user will appreciate it and you will be grateful.
And you, do you have other tricks to optimize images?


