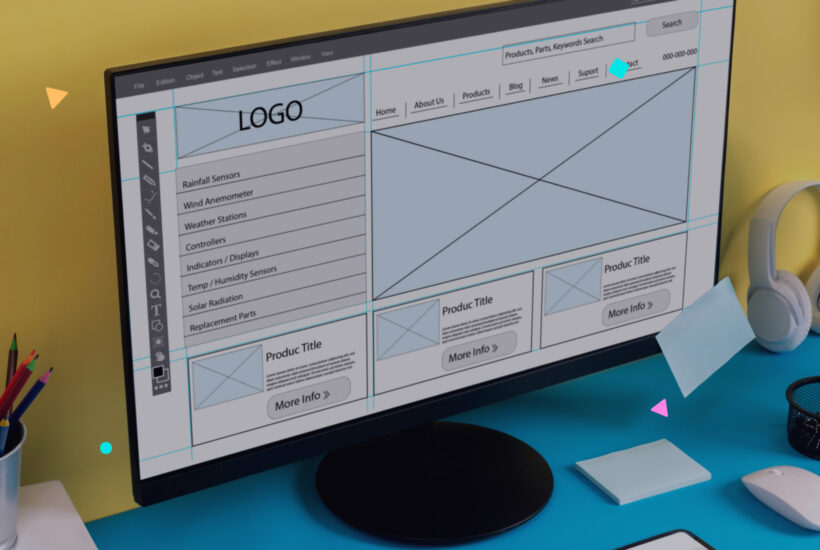
How to create a megamenu in WordPress

Menus are a fundamental part of any website, as they help visitors navigate intuitively and find what they need quickly. If you have a complex website with many sections and content, a megamenu can be the ideal solution to offer a comfortable and efficient navigation experience. In this guide, you will learn how to create a megamenu in WordPress step by step, with a simple but professional approach.
Tabla de contenidos
What is a megamenu and when should you use it?
A megamenu is a type of advanced drop-down menu that allows you to display multiple categories, links, images, and even widgets, all within a single menu. They are very popular on large websites such as online stores and news portals, as they allow you to organize large amounts of information in an easily navigable way.
Advantages of using a megamenu in WordPress
- Clearer Navigation: Ideal for complex categories and multiple levels of content
- Improved SEO: Makes it easier for users to explore your website, which decreases the bounce rate.
- User Experience: Allows you to display relevant information without saturating the user.
Option 1: Create a megamenu manually (without plugins)
If you prefer to avoid using plugins and have basic web development skills, you can create a megamenu manually. This option requires modifying some files of your WordPress theme and adding some custom code.
Step 1: Edit the functions.php file
- Access the functions.php file of your theme (or better yet, child theme).
- Add a function to register a custom menu. For example:
function registrar_megamenu() {
  register_nav_menu('megamenu', __('Mega Menú'));
}
add_action('after_setup_theme', 'registrar_megamenu');
Step 2: Add custom HTML and CSS
- Direct to the header.php file or wherever you want to display the menu.
- Add the following HTML to create a basic megamenu structure.
<nav class="mega-menu">
  <ul>
    <li><a href="#">Categoría 1</a>
      <ul class="sub-menu">
        <li><a href="#">Subcategoría 1</a></li>
        <li><a href="#">Subcategoría 2</a></li>
      </ul>
    </li>
    <li><a href="#">Categoría 2</a></li>
  </ul>
</nav>- Then, add CSS to design the megamenu and make it visually appealing:
.mega-menu {
  position: relative;
}
.mega-menu .sub-menu {
  display: none;
  position: absolute;
}
.mega-menu li:hover > .sub-menu {
  display: block;
}
Step 3: Settings and testing
Test the menu in different browsers and devices to make sure it works correctly. You can add JavaScript to improve user interaction, such as display animations.
Option 2: Create a megamenu with a plugin
If you prefer a quicker and simpler solution, using a plugin is the best option. Plugins offer visual tools and advanced features without the need to touch code.
Step 1: Choose a plugin to create a megamenu
WordPress doesn’t have a native feature to create megamenu, so we will need a plugin. Some of the best plugins available are:
- Elementor Pro: Includes a visual builder that makes it easy to create attractive menus.
- Max Mega Menu: A free plugin that allows you to turn normal menus into megamenus with many customization options.
- WP Mega Menu: Offers megamenu layouts with an easy drag-and-drop interface.
For this guide, we will use Max Mega Menu, as it is free and offers great functionality.
Step 2: Installing and activating the plugin
- Go to the WordPress Dashboard and click Plugins > Add New.
- Look for “Max Mega Menu” and click Install Now.
- After installation, activate the plugin.
Step 3: Configure the mega menu
- Go to Appearance > Menus. If you already have a menu created, select the menu you want to turn into a mega menu.
- You will see a new option called Mega Menu Settings. Click the checkbox to enable megamenu for that menu.
Step 4: Design the megamenu
Now that you have enabled the megamenu, it’s time to customize it:
- Add Contents: Click the Mega Menu button that appears on each menu item. Here you can add columns, widgets, links, images or even videos.
- Organize Items: Use the drag-and-drop functionality to organize the content in a way that is clear and attractive.
- Layout and Colors: To adjust the layout, go to Look > Mega Menu > Theme Editor. Here you can change colors, fonts, and the overall appearance of the menu to match your web design.
Step 5: Add widgets and customize the user experience
One of the most useful aspects of a mega menu is the ability to include widgets. You can, for example, display your latest blog posts, a subscription form or even your best-selling products.
- Add Widgets: When editing the megamenu, select the Add Widget option. You can choose from the default WordPress widgets or from other plugins.
- Show Less to Impact More: Although a megamenu can display a lot of information, it is important not to overload it. Keep the design clean and organized for easy navigation.
Step 6: Test and Optimize
Once you’ve set up the megamenu, pay attention to the user experience:
- Browser Testing: Access the menu from various devices and browsers to make sure the megamenu looks good and works properly.
- Load Speed: Remember that megamenus can be heavy. Check that your website is still loading fast and optimize images or elements if necessary.
Final thoughts
A megamenu can transform your website navigation, making it more intuitive and enjoyable for your visitors. Using plugins like Max Mega Menu, you can implement a megamenu in a simple and professional way, adding value to your site and improving the user experience.
Now it’s your turn to try it out! Experiment with different layouts and elements to find the one that best suits your needs and those of your audience.


